

Growing Vegetables in Raised Beds: A Beginner's Guide for Small Gardens
A practical guide to building, filling and planting raised beds in a small garden, with advice on siting, soil mixes, easy first crops and simple seasonal care.
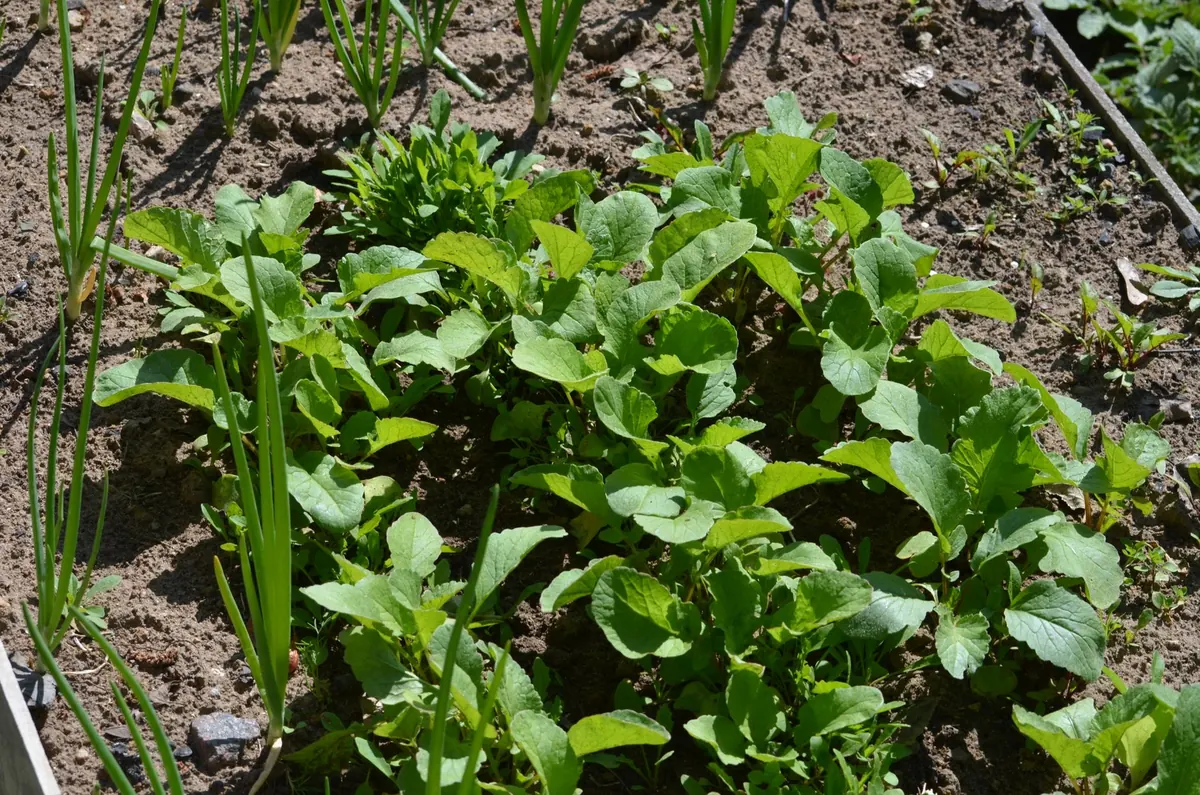
A raised bed will grow you more vegetables from less space than almost any other change you can make to a small garden. The soil warms earlier in spring, drains properly through a wet winter, and you never have to kneel on soggy grass to pull a carrot again. You also get to decide exactly what goes into the soil, which matters enormously if your ground is heavy clay, thin chalk, or riddled with the roots of an old hedge.
Choosing where to put it
Sunlight comes first. Most vegetables want six hours of direct sun a day; fruiting crops such as tomatoes, courgettes and beans want as much as they can get. Salad leaves, chard and herbs will manage on a little less, so if part of the garden is shaded by a fence until mid-morning, save that bed for leaves and put the tomatoes somewhere brighter.
Drainage is the second consideration. Avoid the lowest point of the garden, where water sits after rain, and keep clear of the drip line of trees and hedges — their roots will find your nice soft compost within a season. Finally, think about access. Leave a path of at least 60cm on the sides you will work from, and nearer 90cm if you want to push a wheelbarrow along it. A bed beside the kitchen door gets picked from; a bed at the far end of the garden gets forgotten.
How big, and how deep
Make the bed no wider than 1.2 metres so you can reach the middle from either side without treading on the soil. Length is up to you — 2.4 metres is a common size because timber often comes in that length, and two of them side by side give you a sensible working area.
Depth matters less than people think
If the bed sits on open ground, 15cm of timber is enough for salads, herbs, onions and most leafy crops, because roots will carry on down into the soil beneath. For carrots, parsnips and maincrop potatoes, go for 25–30cm. If you are building on paving or concrete, you need at least 30cm and you will have to water far more often, as the bed drains from below with nowhere for roots to escape.
Building the frame
You do not need anything clever. Untreated or tanalised timber boards are the simplest option, fixed at the corners with battens or metal brackets. Gravel boards work well and last. Brick, stone and woven hazel all look lovely in a rural garden but cost more time. Whatever you choose, avoid old railway sleepers of unknown origin and anything that has been treated with creosote, which is no longer permitted for domestic use.
Before you fill, do two things:
- Loosen the ground underneath with a fork, so roots and worms can move freely.
- Lay a double thickness of plain cardboard over the base to smother grass and weeds. Damp it well and it will rot away within a few months.
Do not line the bottom with plastic or membrane. You want the bed connected to the soil below.
Filling the bed
The cheapest mistake is filling a bed entirely with multipurpose compost. It shrinks, dries out in summer and slumps by a third within a year. A better mix is roughly 60 per cent topsoil to 40 per cent well-rotted compost or manure, with a couple of handfuls of horticultural grit stirred in if your soil is heavy. Buy in bulk by the cubic metre where you can; it is far better value than bags, and you will be surprised how much a bed takes.
Fill to within 3cm of the top, firm it lightly with your hands — not your boots — and water it well. Let it settle for a week or two before planting, then top up any hollows. From then on, add a 5cm layer of compost every autumn and let the worms do the digging for you.
What to grow in your first year
Start with crops that reward you quickly and forgive a beginner. These all do well in a modest bed:
- Salad leaves and rocket — cut-and-come-again, ready in three or four weeks.
- Radishes — sow a short row every fortnight from spring to late summer.
- Chard — generous, hardy and pretty enough for a flowerbed.
- Beetroot — sow in modules, plant out 10cm apart.
- Dwarf French beans — no staking needed and they crop heavily.
- Courgettes — one plant is plenty for most households.
- Tomatoes — bush varieties need less fuss than cordons.
Plant in blocks rather than long rows. Spacing of 20–25cm suits most of the above, and blocks shade the soil, which keeps weeds down and moisture in. Leave parsnips, maincrop carrots, Brussels sprouts and winter cabbage until you have a season or two behind you; they need more depth, space or patience than a first bed usually offers.
Keeping it going through the season
Water deeply and less often. A thorough soak twice a week in dry weather beats a light sprinkle every evening, because it encourages roots downwards rather than to the surface. Water in the morning if you can, and aim at the soil, not the leaves. A mulch of grass clippings, straw or compost will halve the amount of watering you do.
Feed according to what you are growing. Leafy crops appreciate a nitrogen-rich feed, while tomatoes, peppers and courgettes want a potassium-rich tomato feed once the first flowers set. Everything else will usually manage on the compost you added in spring.
Watch for slugs after rain and net brassicas against cabbage white butterflies — a simple hoop frame with fine mesh does the job. Finally, rotate roughly: don't grow the same family in the same bed two years running. Move legumes, brassicas, roots and potatoes around in a simple four-year cycle, and soil-borne problems rarely build up.
A sensible first season
Build one bed, not four. Fill it properly, plant it with things you actually like eating, and keep a notebook by the back door with sowing dates and what worked. The second bed can wait until next autumn, when you will know exactly where you want it and how much time you really have. Grow a little, learn a lot, and eat well in between.
Photo: Andrew Swarga / Pexels