
How to Plan a Circular Country Walk Using a Map and Compass
Plan a safe, enjoyable half-day loop in the British countryside, from choosing the right map and taking a bearing to timing the route and building in escape options.
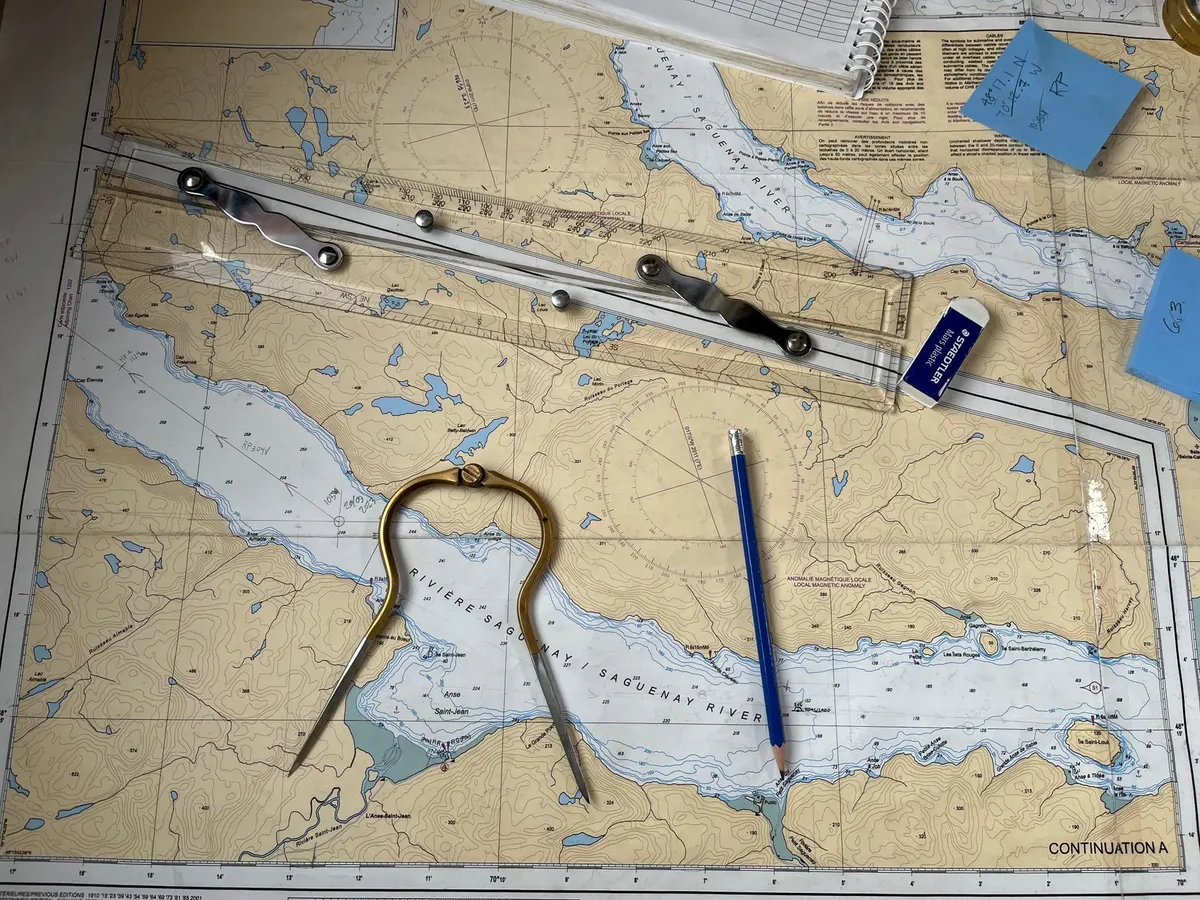
A circular walk is a small piece of engineering, and the drawing happens at the kitchen table rather than in a gateway with the rain coming sideways. Planning the loop in advance tells you three things before you leave: whether the route actually closes, whether the distance suits the people walking it, and where you can get out early if legs, weather or daylight turn against you. A map and compass do most of that work. A phone app is useful backup, but paper does not flatten its battery on a cold morning, and a compass does not need a signal.
Begin with the right map at the right scale
The Ordnance Survey Explorer series at 1:25,000 is the standard choice for walking. Four centimetres on the paper equals one kilometre on the ground: enough detail to show field boundaries, gates, stiles, footbridges and the difference between a track and a path. Landrangers at 1:50,000 give a wider view of how your loop sits in the surrounding countryside, and Harvey maps are worth a look in upland areas.
Read the legend before you plan anything. On Explorer maps, footpaths, bridleways and byways each have their own dash pattern, and what you may do on them differs — footpaths are for walking, bridleways for walking, cycling and horse riding. Access land is shaded; permissive paths are marked as such. Get this wrong and you will spend a morning climbing fences.
Then study the contours. On Explorer maps they sit at ten-metre intervals, so a tight cluster of rings means steep ground. Note the grid magnetic angle printed in the margin, too. You will need it shortly.
Shape the loop before you fuss over detail
Start with a pencil and a rough shape. Most good half-day walks are a triangle, a figure of eight or a lasso: out along one path, back along another. A true loop is more interesting than an out-and-back and far kinder on the knees.
Choose a start with legal parking, or a village with a bus service. Trace the route and mark every point where you change direction — a path junction, a bridge, a gate into a wood. Aim for legs of two to four kilometres so you get natural checkpoints rather than one long unbroken stretch.
Look for handrails: a wall, a stream, a ridge line or a forest edge running alongside your route and confirming you are still on it. Avoid linking five fiddly rights of way in a single kilometre, because that is where mistakes happen. And build the route around a halfway point worth stopping at — a view, a bench, a fallen log.
Sort out north before you take a bearing
Three norths matter: grid north on the map, true north, and magnetic north, where your compass needle actually points. The margin of an OS map gives the grid magnetic angle and how much it changes each year. In much of lowland Britain the difference is small enough that aligning the needle with the map's grid lines is close enough for footpath walking. In the hills, or on open moorland where a small error grows over a long leg, apply it properly.
To take a bearing, lay the compass on the map with the direction-of-travel arrow along your intended line. Turn the bezel until the orienting lines inside the housing line up with the map's north–south grid lines, with the orienting arrow pointing to the top of the map, then read the number at the index line.
To follow it, hold the compass flat and turn your body until the red end of the needle sits inside the orienting arrow. The direction-of-travel arrow now points where you want to go. Rather than staring at the needle, pick a feature on that line — a lone tree, a gatepost, a bend in the wall — walk to it, then take the next one.
Work out how long it will really take
A useful rule of thumb, known as Naismith's rule, is to allow an hour for every five kilometres on the flat, plus an hour for every 600 metres of climbing, and then add time for everything else. Stiles, gates, boggy ground, a steep descent, the slowest member of the group and a proper lunch stop all eat into the day. Round up, not down.
For a half-day outing, most people are comfortable somewhere between eight and twelve kilometres on gentle ground, and less where there is real climbing. Count the contour crossings to see what you are taking on, then write the plan down. A route card in a plastic wallet is worth more than a vague memory.
- Leg-by-leg grid references for each turning point
- Bearing and distance for each leg
- Estimated time at each checkpoint
- Escape routes, and the nearest road or village
- A turnaround time, after which you head back whatever happens
Plan the exits and the safety basics
Every route should have at least one way off it: a lane, a farm track, or a footpath dropping to a village or bus stop. Mark them on the card before you go, and decide what would make you use one — a turned ankle, a weather front arriving early, or simply running late.
Check the daylight. A two o'clock start in December is a walk in the dark; in June you have hours to spare. Carry a headtorch anyway. Look at the forecast the night before and again in the morning, and for upland routes use the Met Office mountain forecasts or the Mountain Weather Information Service.
Tell someone your route, where the car is parked and when you expect to be back. Register your mobile for emergency text messages while you are at home, before you need it; it works where there is signal for a text but not for a call. In an emergency, dial 999 or 112. If you have a heart condition, a joint problem or you are recovering from illness, ask your GP before committing to a long or hilly route.
Practise the skills somewhere dull
Compass work is learned in a field, not on a mountain. Take a bearing to a gate two hundred metres away, walk it, and see how close you get. Count your paces over a measured hundred metres so you know roughly how far you travel in a minute.
Practise setting the map: lay the compass on it, align the needle with the grid lines, and turn both together until the map matches what you can see. That single habit prevents more navigational errors than any other. Then test a short version of your planned route on familiar ground, where you will find the jammed gate and the flooded field while the car is still nearby.
The night before
Fold the map to the first leg, with the rest concertinaed behind, so you are not wrestling a sheet of paper in a wind. Check the compass points north: a bubble in the housing or a sticky needle is reason enough to buy another one. Pack waterproofs, water, food, a headtorch and a charged phone, and leave a copy of the route card at home with someone.
The first time you walk a route you planned yourself, matching map to ground and arriving back at the car from a direction you have never seen, navigation stops being a chore and becomes part of the walk.
Photo: Lea Guerette / Pexels