


How to Build a Dry Stone Wall: A Beginner's Guide
A practical beginner's guide to building a traditional dry stone wall, covering the right tools, safe technique, foundations, hearting and coping.
A dry stone wall is one of the most satisfying things you can build on a smallholding. No cement, no mixing, no waiting for anything to set, just stone on stone, held by gravity and the skill of your own hands. Get it right and it will outlast you. Get it wrong and it will slump quietly into the grass within a winter, which is its own kind of lesson.
The good news is that the principles are simple. A wall stands because every stone sits securely on the ones below, leans very slightly into the bank of stones behind it, and locks together with its neighbours. Once you understand that, the rest is practice. Here is how to make a decent start.
What You Are Actually Building
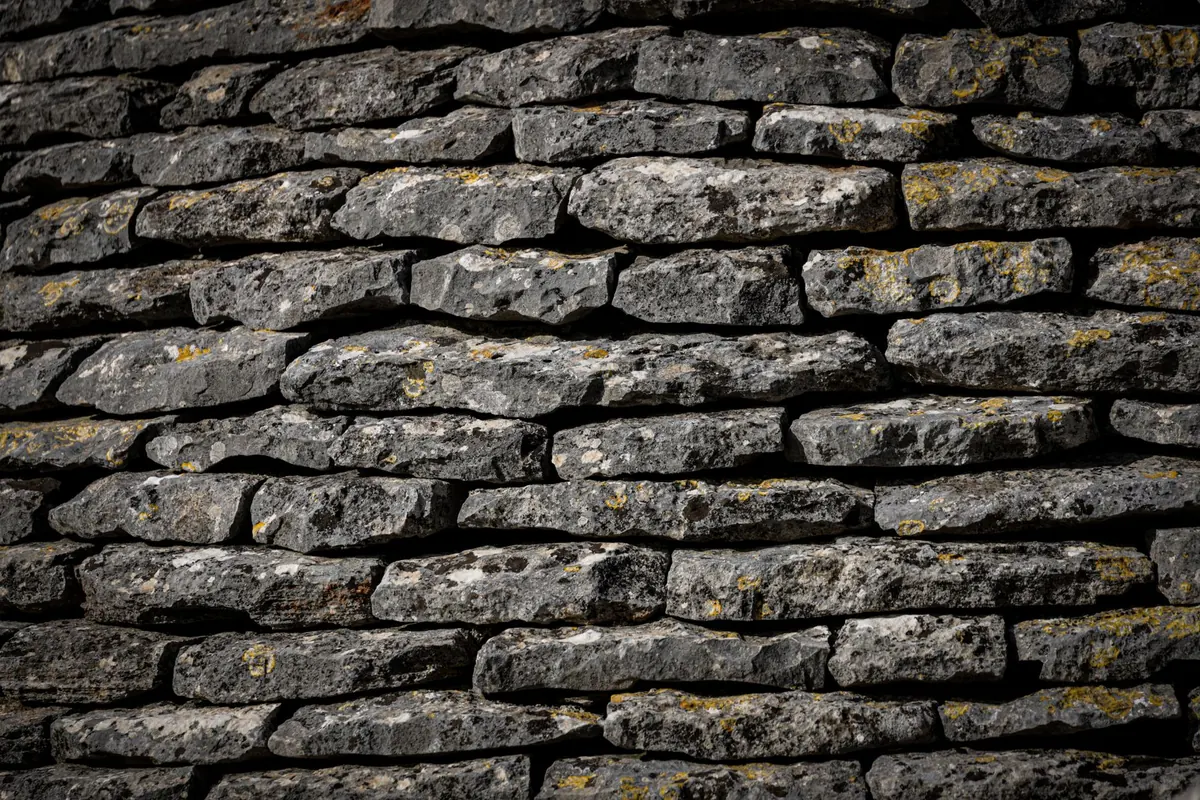
A traditional dry stone wall is really two walls with a shared filling. Each face is built from stones laid flat, with their long side running into the wall rather than along it, and the middle is packed with smaller stones known as hearting. The two faces lean towards each other, and the hearting wedges them so neither can move.
Through stones, sometimes called bond stones, are longer pieces that span the full width of the wall and tie the two faces together. They are usually placed at intervals along the length. A wall built without them is weaker, and one built without hearting is barely a wall at all.
For a first attempt, aim for a wall no higher than about a metre. Anything taller than that takes real experience, and a small, neat wall is far better than a big, wobbling one.
Tools and Safety
You need less than you think. A pair of thick leather gloves, safety glasses and sturdy boots with decent grip are the essentials, because stone chips fly and fingers get trapped. Beyond that:
- A walling hammer, with a square face for trimming and a pointed end for splitting
- A lump hammer for heavier work
- A small chisel for tidying edges
- A digging spade and a mattock for the foundation trench
- A length of string and a few pegs to set your line
- A wooden A-frame or batter gauge
- A crowbar and a strong barrow or sled for moving stone
The A-frame is worth making yourself. Two lengths of timber bolted at the top, with a crossbar set so the legs sit at the angle your wall faces should follow, and it will keep you honest as you build. A common batter is around one in six, meaning the wall narrows by roughly 15 centimetres for every metre of height.
Lift with your legs, keep your working area clear of loose stone, and stop when you are tired. Most injuries on a walling job come from tired hands and careless feet, not from the stone itself.
Setting Out and the Foundation
Mark your line with string, then dig a shallow trench along it, wide enough to take the base of the wall plus a little room to work. A spade's depth is usually enough. The trench does not need to be deep; it needs to be firm. Fill it with compacted rubble and small stones, then check it is level along its length and across its width.
Now lay the foundation course, the largest and heaviest stones you have. Set each one with its broadest face down and settle it with a few taps of the hammer. The first course should sit slightly wider than the finished wall, since everything above narrows as it rises. Take your time here. If the base shifts, the whole wall follows.
Building the Faces and the Hearting
Work along the wall in layers rather than building one section to full height. Lay a course of face stones on one side, then match it on the other, then fill the gap between with hearting, tapping the pieces in firmly so nothing rattles. A stone that moves under your hand will move under frost and livestock too.
Choosing and shaping stone
Let the stone decide. Turn each piece over until you find the face that sits most naturally, then trim only what you must. A tidy wall is built from stones that fit, not from stones that have been forced. If a piece is too big, split it with the pointed end of the hammer along a natural line rather than smashing at it.
Avoid using rounded stones as face stones; they will not lock. Save them for the hearting, or better still, keep them out of the wall altogether. Never place one stone directly on top of another; always bridge across the joint below, as a bricklayer would.
Keeping the line true
Check your batter after every course with the A-frame, and run a line along the face if the wall is long. Step back often. Two paces back shows more than any amount of peering at the stone in your hand.
Coping and Finishing
The top of a dry stone wall is finished with coping stones set on edge, leaning slightly so they shed water. They should be set so each covers the joint between the two beneath it, and they should be tall enough to throw rain clear of the face. Some wallers tie the coping with wire through drilled holes, a sensible precaution on an exposed site.
At corners and ends, take extra care to tie the two faces together with long stones; these are the places that fail first. Tidy the hearting level as you go, and finish by clearing away spoil and raking the ground back to the wall on both sides.
Living With Your Wall
A new wall keeps settling for a season or two, so expect to tap a few stones back into place after the first winter. Keep livestock off it for as long as you can, and clear weeds rather than spraying, pulling them while they are small. If a gap opens, rebuild that short section properly rather than wedging in a loose stone.
Two metres of finished wall in a day is good going for a beginner. Start with a short run in a corner where you can work comfortably, and do not chase speed. If you want proper instruction, a day's walling course or a local group is worth every penny; the feel of a well-set stone is far easier to learn from a tutor than from any page.
Photo: Magda Ehlers / Pexels